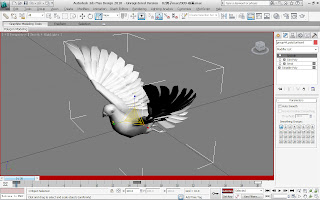
The pigeon created start with box convert to polygon edited and adjust the sharp as ‘banana’.
Used the extrude polygon made the sharpe as head of polygon.
Add the eye ball and add material.
And then, through the mirror made the whole model, choose instance that other part with instances of the same modifier appear in a different.
After that, used extrude tool again to modify the wings and legs. In this part, the sharp was difficult control. Such as the wing need some angle of it joint, and I must take care of the proportion in shape. Other difficulty with the leg made. I have made it more times of the back of the thigh how to link its body…
The next step is claw made. It also was a trouble that needed cut lines and extrude polygon. And the size must be take attention, it couldn’t too large that avoided seem being at variance.
And use chamfer to make the neck’s angle with body and head.
The chamfer also used to make the eye.
Then, I connect lines to solidify the wings.
The next step is feather created. Drug a plan converted to polygon edited and adjust the vertex. These vertex not only adjusted by one plane, it must made different from side sue to the feather looks more natural.
Then just copy and instance these feathers. But need attention about the position, size and aspect.And it would be modify each one.


